

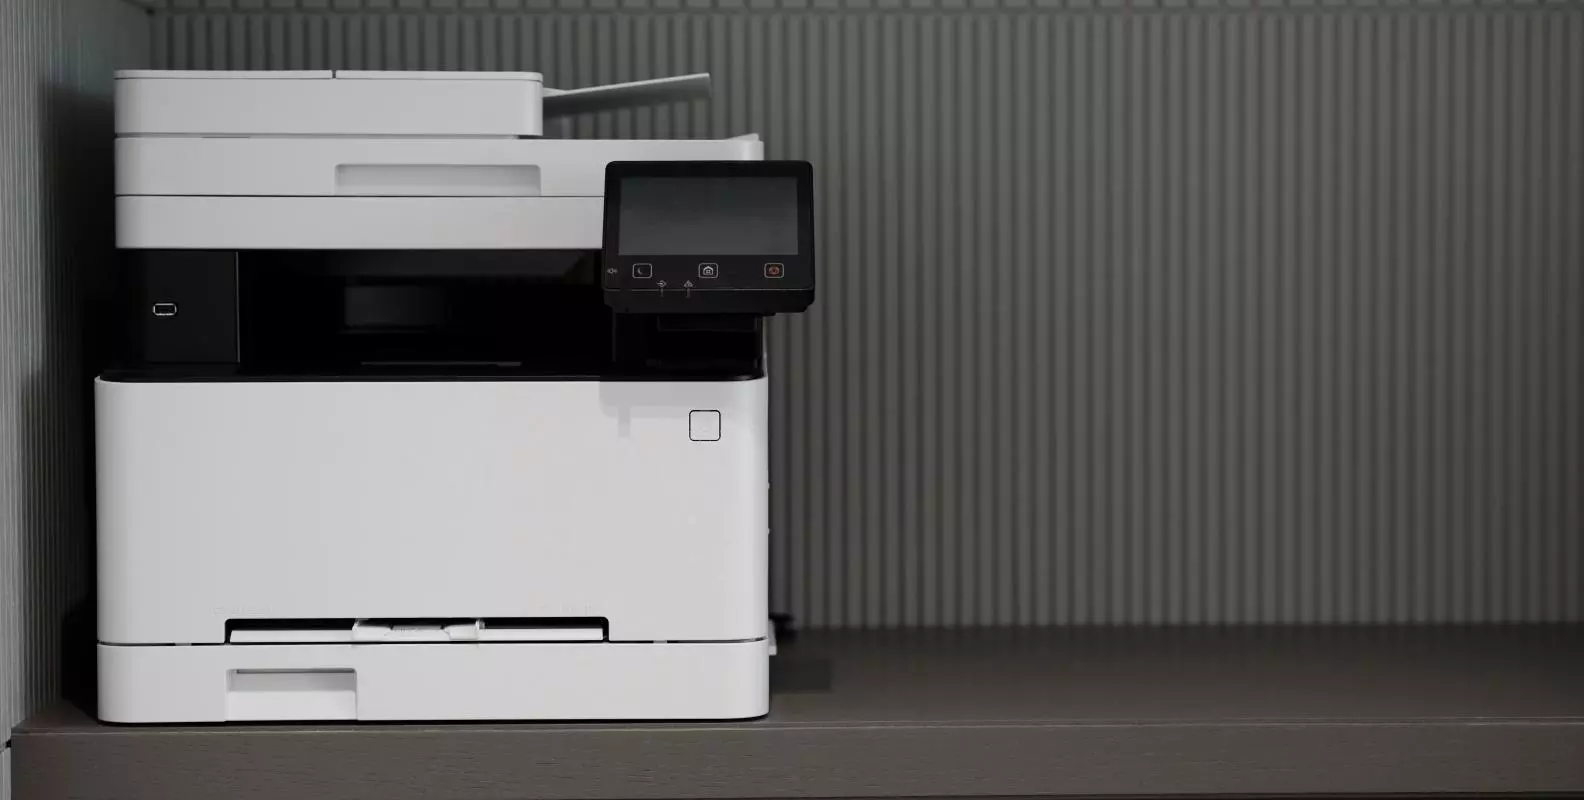
Printing is a key component of any IT setup, and within the Gardens & Museums there are a number of printers available to print from, which are usually labelled with P0 (zero) numbers/asset tags. Adding the relevant printer is a straightforward process but differs slightly, based on device and whether you are on CONNECT on not. Instructions on adding the printers are detailed within this document.
If you find you need additional information (IP address) or print driver software (non-CONNECT) to add the printer please write to it@museums.ox.ac.uk for assistance.
Please you ensure you attempt this while connected via an Ethernet cable.
Please take the following steps (full detailed instructions are available on the University of Oxford IT Services website):
- Click on the Start button and select Devices and Printers
- Click on Add a printer
- In the Add Printer wizard, click on Add a network, wireless or Bluetooth printer
- Click on The printer that I want isn't listed
- Select Find a printer in the directory, based on location or feature and click next
- Enter the Printer Name (eg P0926 - please note that its P-zero) into the Name box and then click Find Now to narrow the search
- Click Next once the printer driver has installed and select Set as the default printer if applicable, and then click on Finish to complete
Please take the following steps (please note that you may need the Print Driver Software to add this printer):
- Open the Windows 10 search box and type Printers & Scanners
- Click on Add a printer
- Click on The printer that I want isn't listed
- Select Add printer by name or TCP/IP address or hostname and ten select Next
- Enter the IP Address (eg 163.1.45.225) into the Hostname or IP Address box and click Next
- Select the defaults and Set as the default printer if applicable, and then click on Finish to complete
Please take the following steps (please note that you may need the Print Driver Software to add this printer):
- Select System Preferences from the Apple menu in the upper left-hand corner
- Select Printers & Scanners
- Click on the plus (+) sign (lower left) to add a printer
- In the Address field enter the IP Address (eg 163.1.45.225) and add any appropriate information manually in the Name and Location fields
- Select Add